A wall art seller rarely needs the same picture exported five times. They need five deliberate compositions that happen to come from the same master: 2:3, 3:4, 4:5, 11:14, and ISO.
Automate the mechanical work—canvas creation, centered cropping, resizing, naming, and export—but keep a human review before files reach a customer or production partner. If a crop removes important content, move the crop, add a margin, or rebuild that ratio from the editable source.
This distinction matters because “resize” is a misleading word. If you preserve proportions, resizing only makes an image larger or smaller. To move from a tall 2:3 frame to a shorter 4:5 frame, you are changing the canvas shape. Software must either crop the image, leave empty space, or distort it. There is no invisible fourth option.
Three operations that sellers call resizing
Scaling
The image becomes larger or smaller while keeping the same proportions. Nothing is cropped, but no new ratio is created.
Cropping
The canvas changes shape and part of the image is removed. This is often the cleanest solution for borderless wall art.
Padding
Extra space is added around the image so the whole composition remains visible. It works when a border feels intentional.
Recomposition
Elements are moved or resized in the editable source. It takes longer, but protects typography and edge-sensitive designs.
Distortion—changing width and height independently—is not a production method. It is a quality-control failure. It may be subtle on an abstract background, but viewers notice it immediately in faces, circles, type, and familiar objects.
Choose a master that gives every crop a chance
A good automated workflow begins before export. The master artwork needs enough pixels for the largest intended print and enough visual breathing room for the shortest intended ratio.
Start with real resolution
Choose the largest output you plan to sell, then work backward. A 24×36-inch print at 300 PPI requires 7,200×10,800 pixels. Merely changing a smaller file’s resolution field to “300 DPI” does not create detail. See the complete wall art ratio and pixel guide for the reference table.
Design a crop-safe zone
Imagine a 4:5 window inside the taller master. Keep the subject’s eyes, hands, important text, signature, and intentional border inside that common safe area. Background texture and sky can live closer to the edges because losing some of them will not change the story.
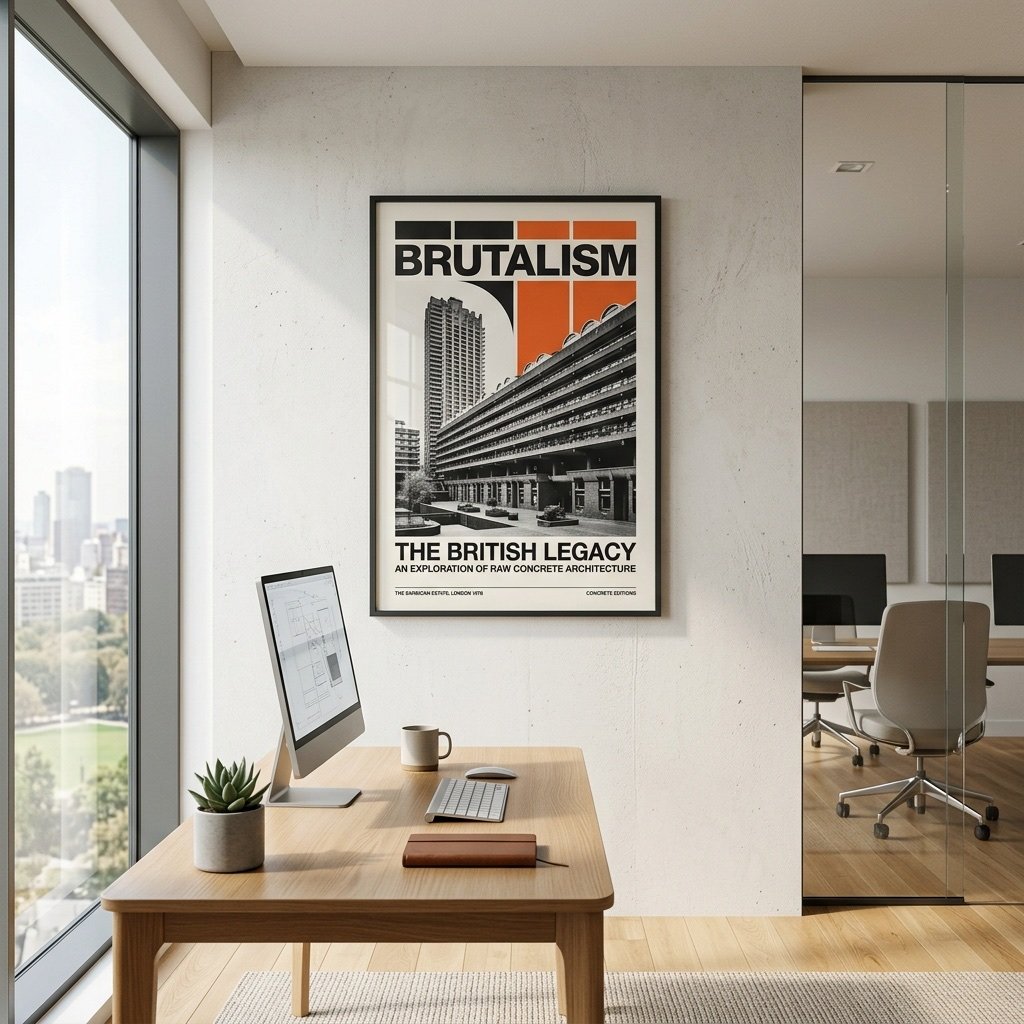
A useful test: shrink the artwork until it is roughly the size of an Etsy thumbnail. If the subject is already hard to identify, creating more ratios will not solve the underlying composition.
A repeatable multi-ratio workflow
Lock the source file
Keep one untouched master and work from copies or generated variants. Repeatedly editing and resaving a compressed JPEG can accumulate artifacts and makes revisions difficult to trace.
Create the five target canvases
Set up 2:3, 3:4, 4:5, 11:14, and ISO using the pixel dimensions required by your products. Name them before adding the artwork so ratio mistakes are visible early.
Generate the first centered crops
Centered cropping is a sensible default for centered subjects. It is a starting point, not a promise that every result is finished.
Review the most aggressive crop first
For a tall master, 4:5 usually removes the most from the long edges. If that version works, the neighboring ratios often need only small adjustments.
Correct exceptions deliberately
Shift an off-center crop, add a border where appropriate, or reopen the layered source and move individual elements. Record the exception so the next revision follows the same decision.
Export once from a clean source
Use consistent color settings and high-quality export options. Avoid enlarging a generated ratio later; return to the master when another size is needed.
Inspect production and storefront assets separately
The print file must be sharp at physical size. The mockup and Etsy listing photo must communicate the design clearly at thumbnail size. They solve different problems.
Where automation should stop
Batch processing is excellent when the input is predictable. It is less reliable when the visual meaning changes near an edge. Treat these designs as exceptions:
- Typography-led posters: a centered crop can cut a line or make margins feel uneven.
- Artwork with a printed border: every ratio may need its own border thickness.
- Faces and figures near an edge: losing a hand or the top of a head is more noticeable than losing background.
- Diptychs and sets: all pieces must retain a consistent scale and horizon.
- Signed artwork: signatures need a protected safe area or a deliberate repositioning.
Centered is not the same as intelligent. A centered crop can be perfectly calculated and still be artistically wrong. A trustworthy workflow shows the crop before publication and lets the seller decide.
File organization that survives fifty designs
The real cost of manual resizing is not just the mouse work. It is the uncertainty created by folders full of nearly identical exports. Use a naming pattern that answers four questions without opening the file.
design-name_ratio_orientation_revision.ext
desert-arches_4x5_portrait_v03.jpg
Keep masters, production files, and storefront images in separate locations. If a mockup is accidentally sent to the printer—or a 1,500-pixel listing image is mistaken for the print file—the filenames should make the error obvious.
| Folder | Contains | Example |
|---|---|---|
| 01_master | Editable source and approved original | desert-arches_master_v03.psd |
| 02_print | Ratio-specific production files | desert-arches_2x3_portrait_v03.jpg |
| 03_mockups | Room scenes, frames, and detail views | desert-arches_living-room_01.jpg |
| 04_listing | Final Etsy image sequence | desert-arches_etsy_01.jpg |
How Synclisto fits into the process
Synclisto is designed for the repetitive middle of this workflow. You bring the finished master; the workspace creates the target ratios, applies predictable centered crops, and keeps related production and mockup assets together. From there, you review the results and prepare the product for Printful and an Etsy draft.
It is not a replacement for Photoshop, Affinity Photo, Procreate, or Canva when the artwork itself needs to change. It is the staging layer between “the design is finished” and “the product is ready for review.” That narrower role is what makes it useful: it removes repeated setup without pretending creative judgment can be skipped.
For the larger operational picture, read the complete wall art staging workflow.
Frequently asked questions
Can I create every ratio from a single 2:3 file?
Technically yes, if the file is large enough. Artistically, it depends on the composition. A 4:5 crop removes part of the long edges, so edge-sensitive designs may need recomposition.
Should automation use the center or detect a focal point?
A centered crop is predictable and easy to review. Focal-point detection can help with photographs, but no automated method understands every intentional layout. Keep a visual approval step either way.
Does cropping reduce image quality?
Cropping removes pixels outside the selected area. The remaining pixels are not inherently worse, but the cropped file still needs enough dimensions for the intended print size.
Should I offer all five ratios for every design?
No. Offer the ratios that preserve the work and match products customers can actually order. A strong three-ratio set is better than five awkward crops.
Can I automate landscape versions too?
Yes. The same ratios apply when width and height are reversed. Review each orientation separately because a portrait composition rarely becomes a strong landscape simply by rotating the canvas.
Turn one master into a reviewable set
Use Synclisto to generate ratio-specific crops, inspect the result, create storefront mockups, and prepare your production workflow from one place.
Try the staging workflow